










How to Crate Train a Puppy: A Step-by-Step Guide
How to Crate Train a Puppy: A Step-by-Step Guide
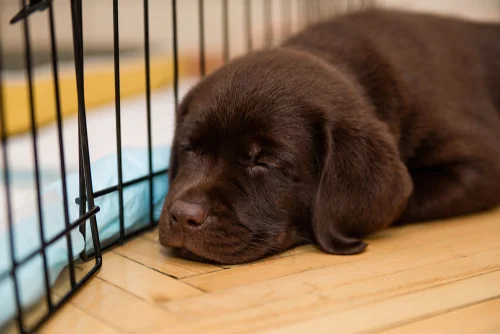
Crate training is one of the most valuable things you can do for a new puppy, and one of the most misunderstood. Used correctly, a crate gives a puppy a safe, predictable space that becomes a genuine comfort zone. Used incorrectly, it becomes a source of stress that creates behavioral problems rather than preventing them. The difference almost always comes down to how the crate is introduced. Here's a step-by-step guide to crate training done right, from choosing the correct size to navigating the first few nights.
Choosing the Right Crate
Before any training begins, you need the right crate. Your puppy should be able to stand up, turn around, and lie down comfortably , but not much more. A crate that is too large defeats the purpose: puppies will use the extra space as a bathroom area, which undermines house training. If you are buying a crate sized for your dog's adult weight, use a divider panel to reduce the space while your puppy is still growing.
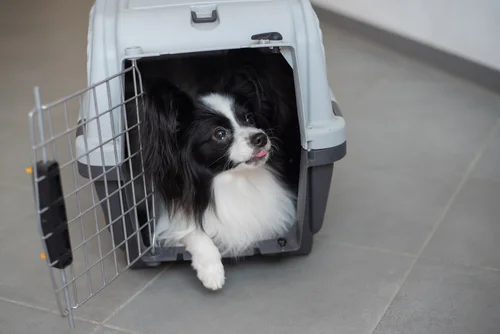
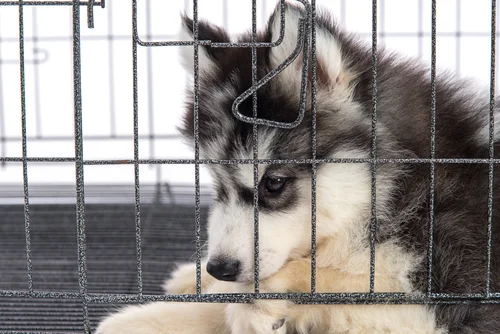
Wire crates, plastic travel crates, and soft-sided crates are all viable options. Wire crates offer good ventilation and visibility; plastic crates feel more den-like and can be calming for anxious dogs; soft-sided crates are lightweight and portable but less durable for heavy chewers. Choose based on your puppy's temperament and your own practical needs.
Step 1: Introducting the Crate
The first step has nothing to do with closing the door. Set the crate up in a quiet but social area of your home, somewhere your puppy can see and hear the household without being in the middle of all the chaos. Leave the door open and let your puppy investigate at their own pace. Toss a few treats or a piece of kibble just inside the entrance, then a little further in over the next day or two. The goal is for your puppy to choose to go in willingly before you ever ask them to.
Add comfortable bedding and consider placing an item with your scent inside, such as a worn t-shirt. Some puppies settle faster with a covering over the crate that makes it feel more den-like. Avoid putting the crate in an isolated room during the introduction phase. Proximity to the family helps puppies feel safe rather than shut out.
Step 2: Building Positive Association
Once your puppy is going in and out of the crate comfortably, start feeding meals at the crate entrance, then just inside, and eventually with the bowl at the back of the crate. Mealtimes are one of the most powerful tools for building positive crate association because the puppy learns to look forward to the crate as a place where good things happen. Pairing crate time with a stuffed Kong or a long-lasting chew is equally effective for non-mealtimes.
Step 3: Closing the Door For the First Time
When your puppy is relaxed and eating or chewing inside the crate, gently close the door without latching it. Open it before they finish. Over the next few sessions, let the door stay closed a little longer each time: first for just a minute, then a few minutes, then longer as your puppy remains calm. Never rush this stage. A puppy that whines or claws at the door is telling you the duration increased too fast. Step back and build more slowly.
Step 4: Short Alone Sessions
Once your puppy is comfortable with the closed door while you are visible, begin stepping out of sight for short periods. Start with just a minute, return calmly before your puppy shows distress, and gradually build the duration. The goal is always to return before your puppy reaches the point of anxiety. Every successful session builds confidence, while every session that ends in distress sets training back. Keep your departures and returns calm and matter-of-fact. Avoid long goodbyes or excited reunions, both of which signal to your puppy that being separated from you is a significant event worth getting worked up about.
Step 5: Overnights
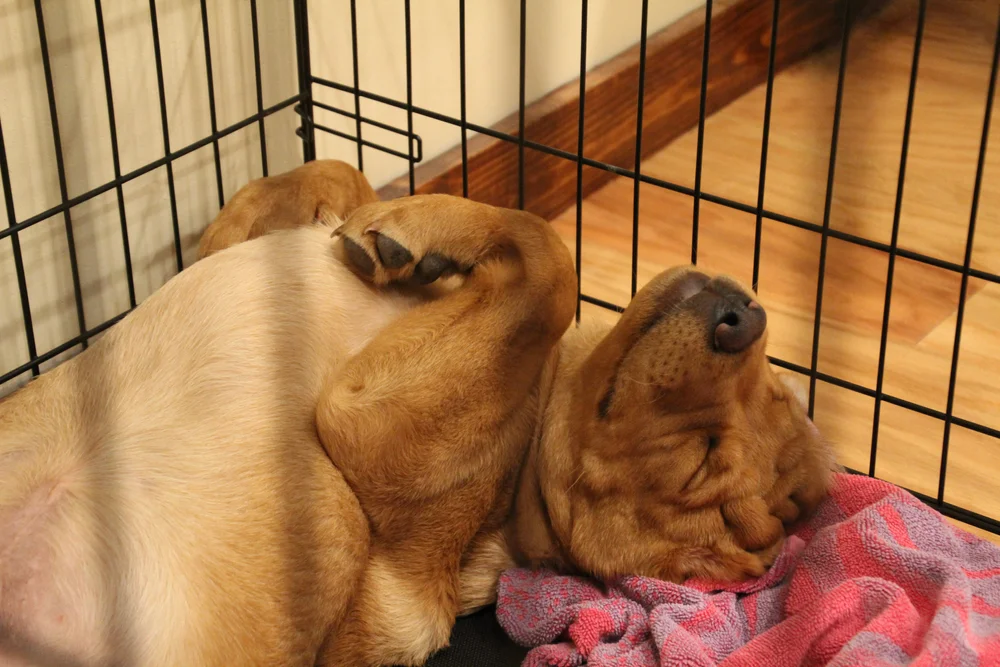
Many puppies will cry the first few nights in a crate, particularly when they are very young and have just left their littermates. This is normal. Position the crate in your bedroom or very close to it during the early weeks. hearing and smelling you nearby provides significant comfort. If your puppy cries in the night, the first question to ask is whether they need a bathroom break. Very young puppies cannot hold their bladder through the night and will need at least one middle-of-the-night outing for the first several weeks.
Resist the urge to let a crying puppy out of the crate unless you are certain they need to go outside. Letting a puppy out when they cry teaches them that crying works, which makes future nights harder. Instead, maintain the routine, keep overnights low-key, and trust that most puppies begin to settle within two to three weeks once they adjust.
Common Crate Training Mistakes to Avoid
Using the crate as punishment is the most damaging mistake. If your puppy associates the crate with being in trouble, they will resist going in and feel anxious when they do. The crate should always be a positive, neutral space, never a consequence for bad behavior. Leaving a puppy in the crate for too long is the second most common issue; follow the one-hour-per-month-of-age guideline and make sure someone checks in if you are away for extended periods. And never force a puppy into the crate, always encourage rather than push.